Last month I mentioned that I had acquired a Remington 514 from a friend with plans to restore it. Various projects have intervened since then, including the rebuilding of my Benjamin Marauder air rifle, some overdue tree trimming, and much-needed house cleaning, but I’ve finally gotten around to working on the Remington. Some tests on the barrel show that it’s not as bad as I first thought. Here’s a photo showing the barrel as received, and a section that’s been given a polishing with 3M synthetic steel wool (the red one) and phosphoric-acid based cold blue:
Cleaned up nicely, and this is just a quick test. I’m going to strip the receiver and give the whole thing a good cleaning, polishing, and cold blue.
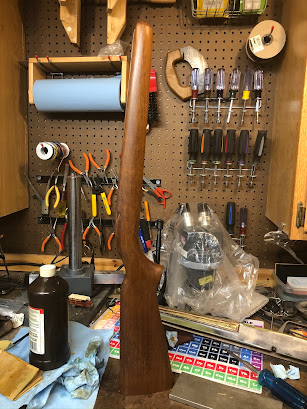
I’ve also started sanding the lacquer finish on the stock. It looks like walnut, and I think a sand-and-fill with Tru-Oil will look pretty good when I’m done. Stay tuned.


