Monday, January 20, 2014

Reloading Bench, continued


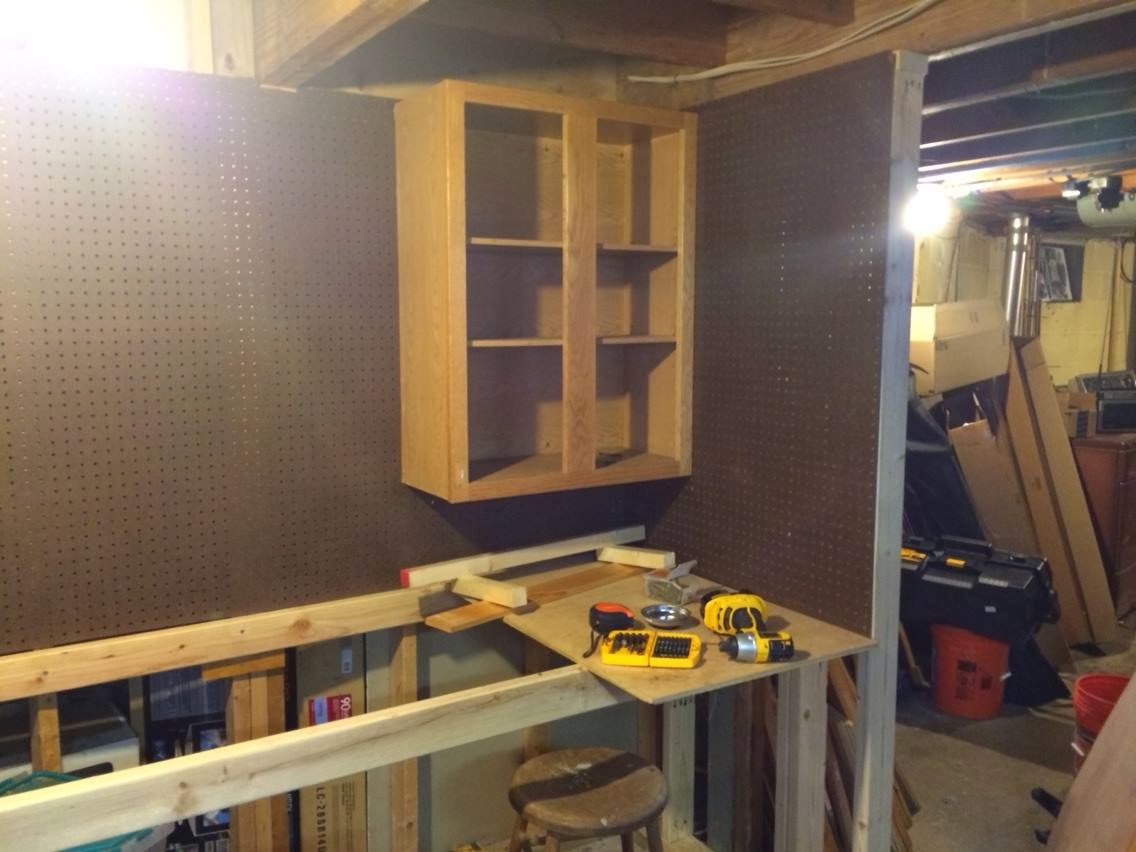
Cabinets are up, tabletop installed. This is 1/2" BC Pine plywood; there'll be another layer on top of that. I'll lay a sheet of 1/4" Masonite on top for a "sacrificial" surface that can be easily and inexpensively replaced if necessary.

Moving on:


It's now expanded its intended uses to include  gun cleaning, gunsmithing, arrow making, and other related crafts. I applied several coats of Thompson's Water Seal to the tempered Masonite top, which should make it more impervious to liquids that might leak on to it and prevent spilled powder from working its way into crevices.

Friday, January 17, 2014

Reloading Bench Project


Like a lot of shooting hobbyists, my regular reloading space is shared with several other hobbies. Some days it's an electronics repair bench and some days it's an arrow fletching bench. This is not a good way to work.  I decided I needed a dedicated space for reloading and cleaning, and better organized storage.

There was an unused wall in my basement that serves to support the floor beams that were cut when the location of the basement stair was moved, and I'd been meaning to finish it some way. It occurred to me that it would make an ideal back wall for the new bench.

I built a pair of stub walls, just 3' long, and covered them and the back with pegboard. Next a pair of cabinets left over from a kitchen remodel went up.


I took off the cabinet doors to make installation easier- something I learned from a carpenter friend when we did my kitchen a few years back. Next week I'll put in the workbench surface and trim out everything. Might even put in drawers under the bench top.